Obtaining Fallout 4 Power Armor early on may not provide the significant advantage you anticipate, as it requires repairs and upgrades. As you explore the nuclear wasteland and scavenge, you’ll encounter Power Armor parts and complete sets in varying conditions. Some might necessitate comprehensive repairs, while others are in pristine condition.
Regardless, maintaining and enhancing your Power Armor can be a gratifying side project alongside the main storyline. This guide provides essential tips on finding, repairing, and modifying your defensive equipment, as well as locations to discover Power Armor.
Basics
The backbone of the Power Armor suit is a skeletal frame that allows you to attach different parts. To assemble a complete suit, you’ll need arms, legs, a head, and a torso. Additionally, a Fusion Core is crucial for powering it. Without a core, the suit is essentially useless, leaving you immobilized.
Wearing a bulky metal suit offers numerous advantages. You’ll sustain less damage, avoid injuries from high jumps or falls, and experience reduced radiation effects. Furthermore, the suit increases your carrying capacity.
While these benefits may tempt you to wear the suit throughout the game, it’s important to note that any action-consuming Action Points (AP) depletes the Fusion Core, which is scarce. It’s prudent to reserve Power Armor for challenging encounters and quests and always have a spare fusion core.

If you leave your suit unattended with a fusion core installed, anyone can seize the opportunity to use it. To prevent this, remember to remove the core when parking or leave it in to allow settlers to defend against raiders.
Your first Power Armor suit awaits in Concord, just down the road from Sanctuary. Visit the Museum of Freedom and embark on the quest “When Freedom Calls” to obtain a free set of Power Armor.
Repairs
Once you acquire a Power Armor suit, head to a settlement with a Power Armor Station like Sanctuary or the Red Rocket Truck Stop. While wearing the Power Armor, step into the yellow frame of the station and hold the appropriate button to exit.
Once outside, the armor will automatically face outward, ready for modifications. Look at the yellow frame to interact with the Power Armor station and access crafting and transferring options.
Begin by repairing the components. Interact with the station and scroll through the list of parts. The health of each part is displayed on the left. If a part is damaged, the repair option will be spotlighted at the bottom of the screen. Repairing your Power Armor will typically require various materials, but steel, obtainable by scrapping metal items in your settlements, is often the primary resource needed.
Power Armor Mods
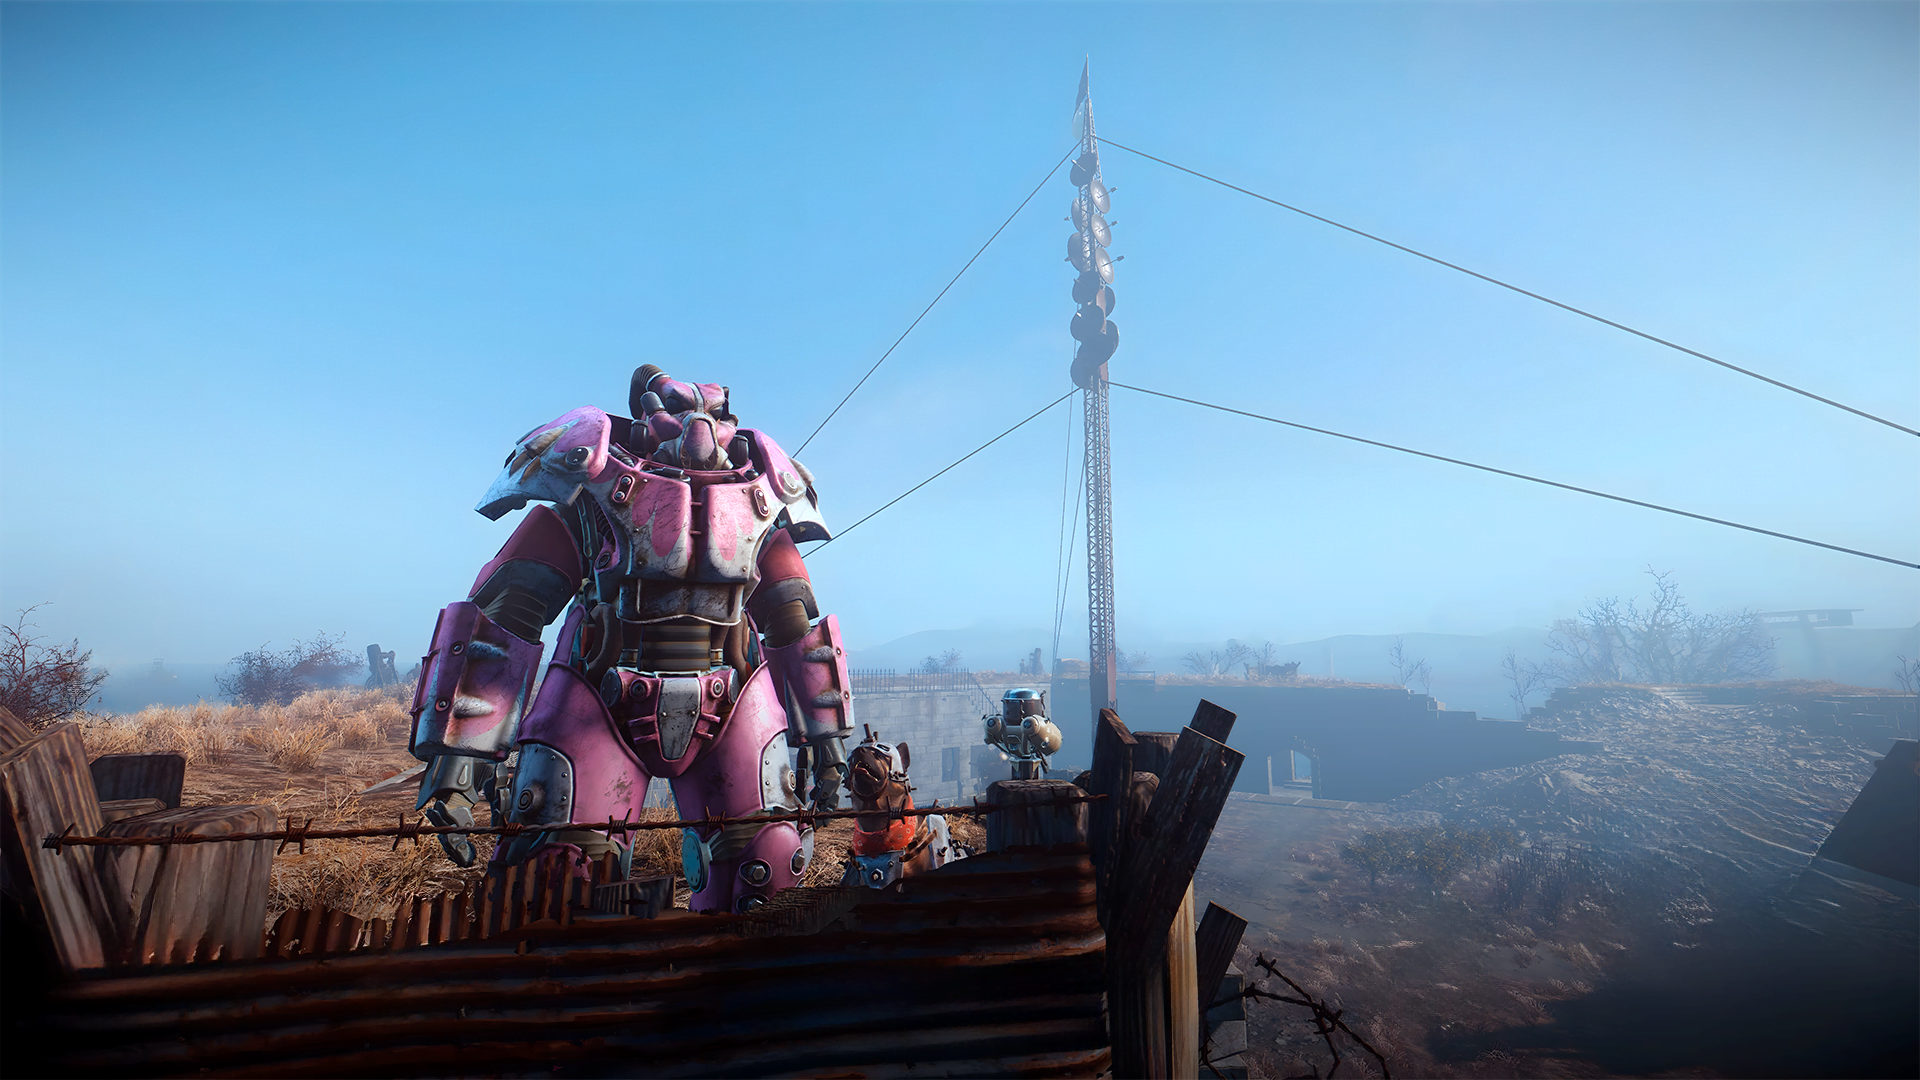
To craft the finest Power Armor modifications, you must allocate points to the Blacksmith, Armourer, and Science! perks. Switching between models allows you to enhance the base stats of each part. By outfitting the entire suit with the same material mod, you can enjoy specific attributes that mod provides. Misc mods offer upgrades directly related to the part being enhanced, such as increased sprint speed for leg pieces.

The materials required for Power Armor mods are the same as those for regular armor crafting. Therefore, gather an ample supply of junk and store it in your workshop before embarking on your crafting endeavors. For detailed instructions on changing the paint job of your Power Armor, refer to the Hot Rodder magazines to unlock them.
You’ll notice a variety of Power Armor types at your disposal, each with its unique strengths. Let’s delve into the five types of Power Armor and how to obtain them.
Raider Power Armor
Raider Power Armor is commonly worn by Raider minibosses and is considered the weakest among the sets. After defeating them, you won’t be able to salvage their corpses from the armor. Instead, collect the parts, repair them at a station, and attach them to an existing suit you own.
You can find a set of Raider Power Armor in “Cave” in the Glowing Sea, located southwest of the map.
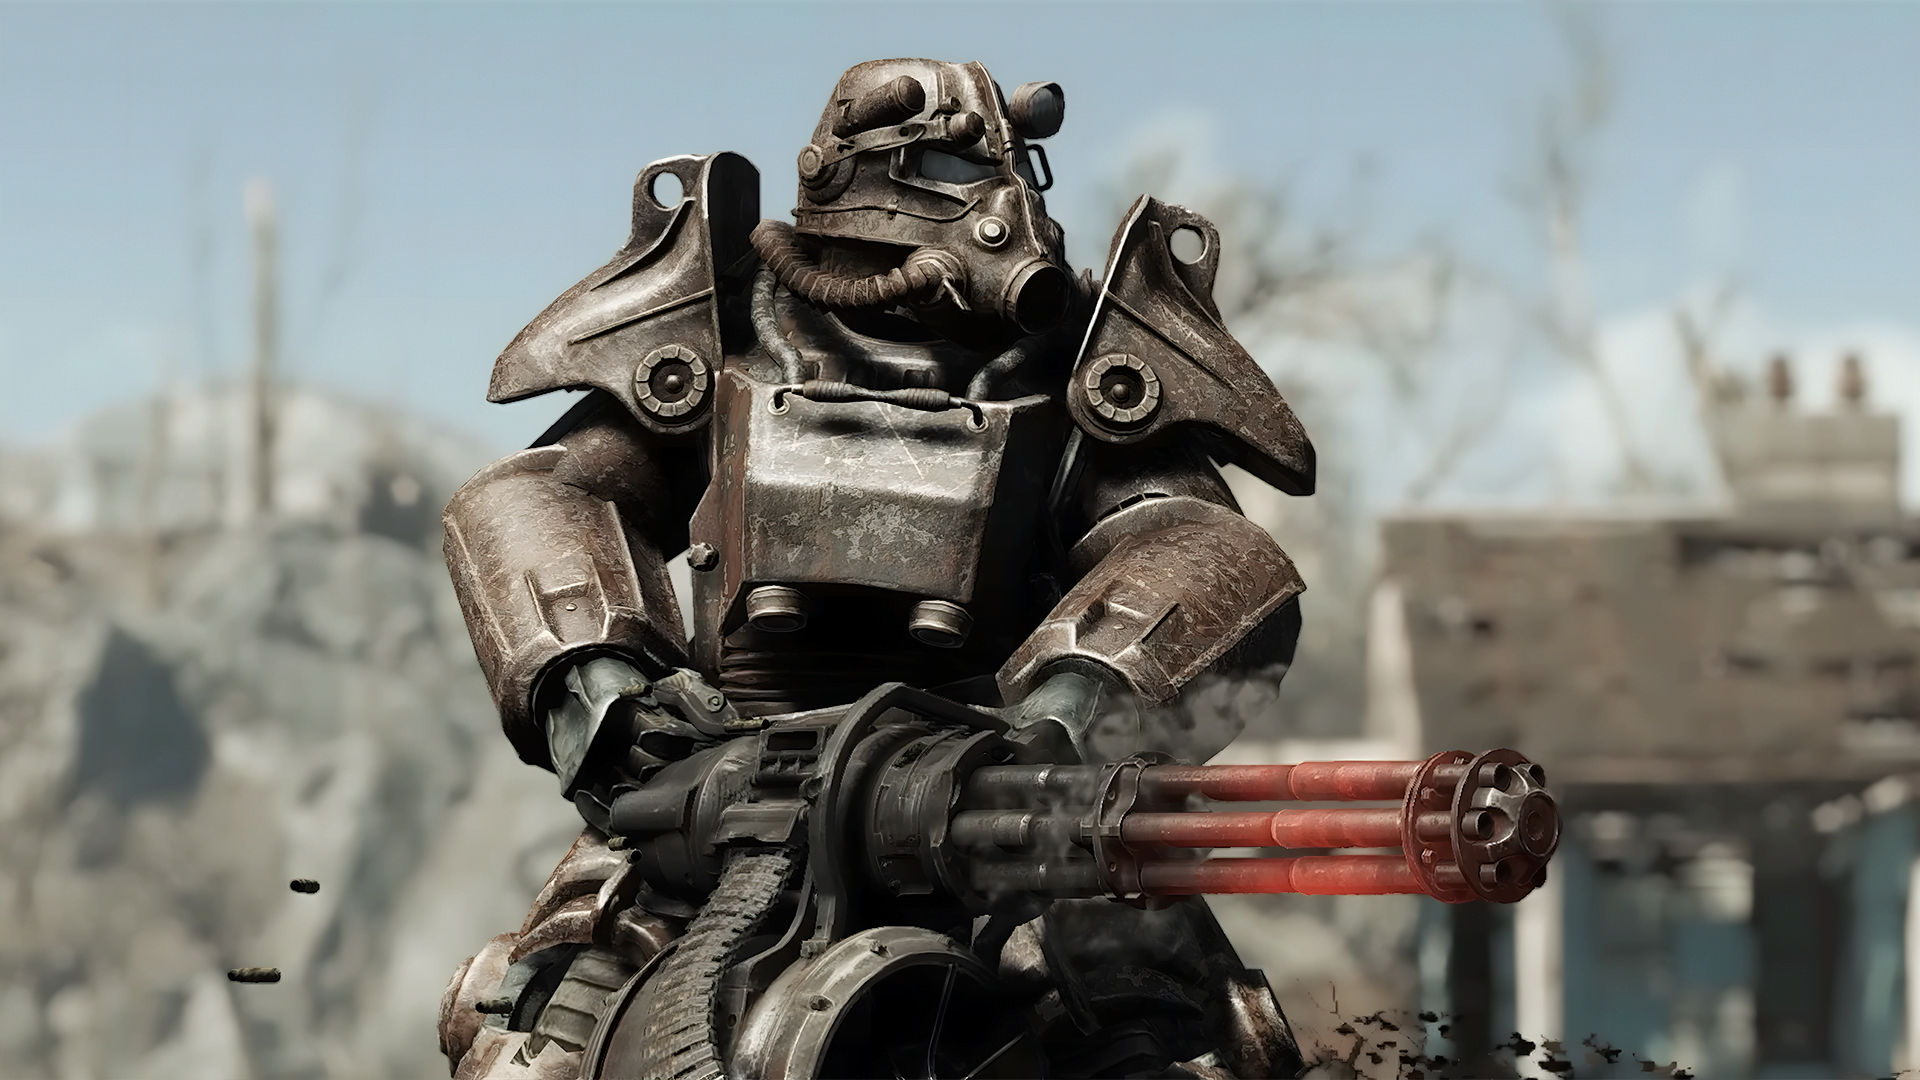
T-60 Power Armor
The T-60 Power Armor follows the T-51 in terms of strength. To obtain it, you need to join The Brotherhood of Steel. Alternatively, you can purchase it at Atom Cats Garage, although it will come at a hefty price.
T-51 Power Armor
The T-51 Power Armor is a step up from the T-45 and becomes available once you reach level 15. At locations where T-45 parts would have spawned, you’ll now find T-51 parts instead.
You can find a full set of T-51 Power Armor on a barge to the east of the Pickman Gallery.
T-45 Power Armor
T-45 Power Armor is often the first set encountered after leaving Sanctuary. You’ll come across it in Concord during the quest “When Freedom Calls.”
X-01 Power Armor
Considered the ultimate Power Armor, the X-01 is the most challenging to acquire but also the most powerful. If you visit one of the locations for this armor and your level is too low, you’ll find the T-60 set instead. Aim to reach level 30 or higher before embarking on the search for this exceptional armor.
You can buy or steal parts from Rowdy at the Atom Cats Garage. If you prefer not to spend any caps or affect your karma, the easiest place to acquire it is at the South Boston military checkpoint.
After dispatching a few raiders, head to the side of the building, where you’ll find the power armor behind a locked door. The set will vary depending on your level. If you’re level 30 or above, this is the most straightforward method to obtain the best power armor in the game.
The terminal to unlock it requires an expert-level hacking skill. Successfully hack it, and revel in the magnificence of your new toy.
Alternatively, head east of Diamond City toward Custom House Tower until you reach Court 35. Take the lift to the top, and after confronting a formidable Assaultron and Sentry Robot, you’ll discover the armor waiting for you on the rooftop. To access it, press the red buttons in the rooms where the robots emerged.